How to Make Fermented Kimchi at Home
A traditional napa cabbage kimchi recipe that ferments in 3-5 days. Rich in probiotics, packed with flavor, and cheaper than store-bought. Step-by-step with troubleshooting.
Kimchi is fermented vegetables — usually napa cabbage — seasoned with chili, garlic, ginger, and fish sauce. It’s been a staple of Korean cuisine for centuries, and modern research has validated what Korean grandmothers always knew: it’s extraordinarily good for you.
A single serving of kimchi contains billions of Lactobacillus bacteria — the same beneficial microbes that probiotic supplements charge a premium for. The fermentation process also creates vitamins (B12, K2), enzymes, and organic acids that support digestion, immune function, and even skin health.
Making kimchi at home is simple, satisfying, and dramatically cheaper than buying it. A batch costs under $10 and produces enough for 2-3 weeks. The hands-on time is about 30 minutes — the bacteria do the rest.
What You Need
Ingredients
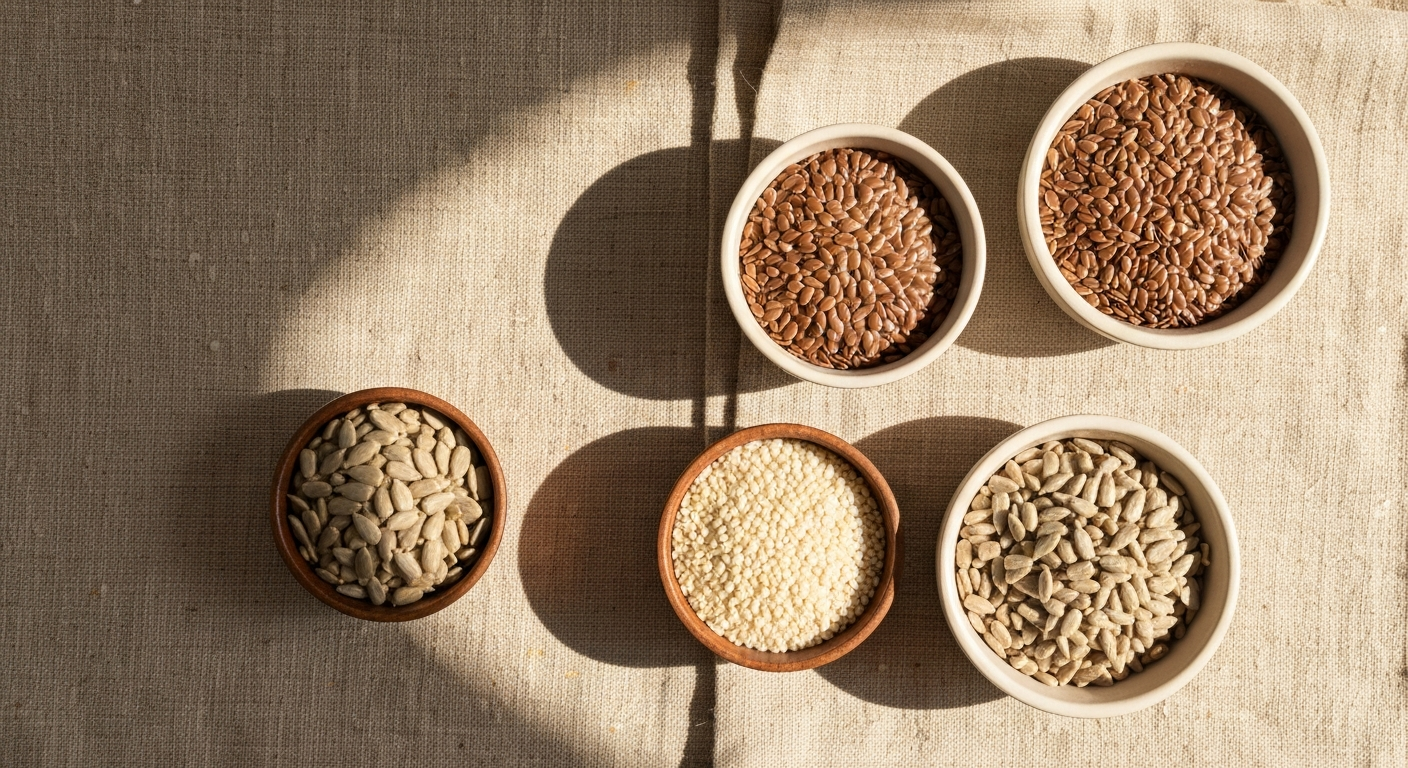
- 1 large napa cabbage (about 1kg)
- 3 tbsp coarse sea salt (non-iodized — iodine inhibits fermentation)
- 1 tbsp sugar
Kimchi paste:
- 3 tbsp gochugaru (Korean chili flakes — essential, not substitutable)
- 4 cloves garlic, minced
- 1 inch ginger, grated
- 2 tbsp fish sauce (or soy sauce for vegan)
- 1 tbsp sugar
- 2 tbsp rice flour + 1/2 cup water (for the paste base)
Add-ins:
- 4 green onions, cut into 1-inch pieces
- 1 medium daikon radish, julienned (optional but traditional)
- 1 medium carrot, julienned (optional)
Equipment
- Large bowl for salting
- Glass jar or ceramic crock (1-2 liter capacity)
- Clean hands (your best fermentation tool)
- Rubber gloves (gochugaru stains)
Step-by-Step Process
Day 1: Salt and Prep (30 minutes active, 2 hours waiting)
1. Prepare the cabbage. Cut the napa cabbage in half lengthwise, then into quarters. Cut each quarter into 2-inch pieces. You can also leave the quarters whole for a more traditional presentation and cut after fermentation.
2. Salt the cabbage. Place cabbage in a large bowl. Sprinkle salt between the layers, focusing more salt on the thicker white parts. Toss to distribute. Add just enough water to barely cover (the salt will draw moisture from the cabbage).
3. Wait 1.5-2 hours. Toss the cabbage every 30 minutes. The cabbage is ready when the thick white stems bend easily without snapping. Taste a piece — it should be pleasantly salty, not overwhelming.
4. Rinse and drain. Rinse the cabbage 3 times under cold water to remove excess salt. Squeeze gently to remove water. Drain in a colander for 15 minutes.
5. Make the paste base. Mix rice flour with 1/2 cup water in a small saucepan. Heat over medium, stirring constantly, until it thickens to a porridge consistency (about 3 minutes). Let cool completely.
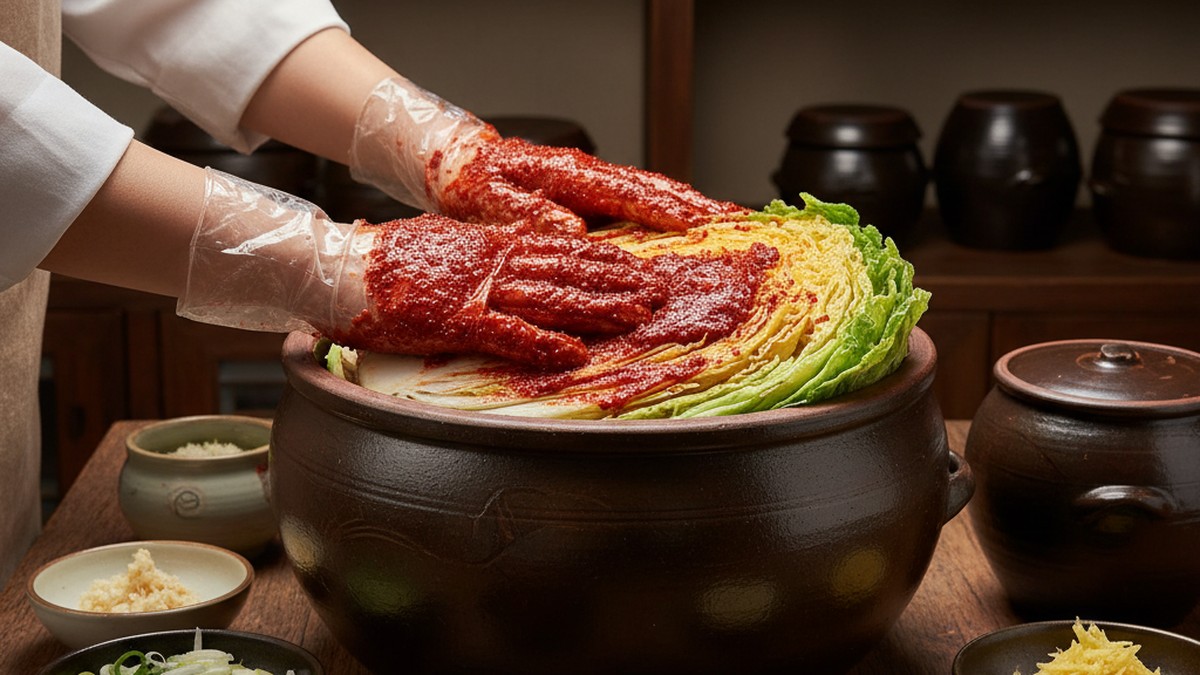
6. Mix the kimchi paste. Combine the cooled rice paste with gochugaru, garlic, ginger, fish sauce, and sugar. Mix into a smooth, vibrant red paste.
7. Combine everything. In the large bowl, add the drained cabbage, green onions, daikon, and carrot. Add the kimchi paste and mix thoroughly with gloved hands. Make sure every piece of cabbage is coated with paste.
8. Pack into jars. Press the kimchi firmly into clean glass jars, pushing down to eliminate air pockets. Leave about 1 inch of headspace — the kimchi will expand during fermentation as CO2 is produced.
9. Seal loosely. Close the lid but don’t seal it tight. Fermentation produces CO2 that needs to escape. Alternatively, open the jar once daily to release gas (“burp” it).
Days 2-5: Fermentation
Leave at room temperature (18-22°C / 65-72°F). The kimchi will begin bubbling within 24-48 hours — this is the Lactobacillus bacteria converting sugars into lactic acid.
Press the kimchi down daily. Use a clean spoon to push the vegetables below the liquid level. This prevents mold from forming on exposed surfaces. The brine should cover the vegetables.
Taste daily starting at day 2. The kimchi is ready when it tastes pleasantly tangy with a slight fizz. This typically takes 3-5 days at room temperature, depending on warmth.
- Day 2: Mild, fresh, barely fermented
- Day 3: Developing tang, slight fizz, flavors deepening
- Day 4-5: Full fermentation — complex, tangy, effervescent
When it’s ready, refrigerate. Cold temperatures slow fermentation dramatically. Kimchi continues to develop flavor slowly in the fridge and keeps for months.
Troubleshooting
“My kimchi is too salty.” You didn’t rinse enough after salting. Next time, rinse 3 full times. For this batch, add a small amount of water or unsalted diced radish to dilute.
“It’s not bubbling.” Possible causes: too cold (move to a warmer spot), too much salt (inhibits bacteria), or iodized salt used (iodine kills beneficial bacteria). Give it another day before worrying.
“White film on top.” Kahm yeast — harmless but unpleasant. Skim it off. It forms when vegetables are exposed to air above the brine. Keep everything submerged.
“It smells really strong.” Kimchi smells. Active fermentation smells stronger. As long as there’s no visible mold (fuzzy spots, black or pink discoloration), the smell is normal. The smell mellows significantly in the fridge.
“It’s too spicy.” Reduce gochugaru next time. You can also add more sugar to the paste, which will offset perceived heat.
The Health Benefits
Probiotic diversity. Kimchi contains over 100 species of Lactobacillus — far more diversity than any supplement. Diversity matters because different bacterial strains serve different functions in the gut.
Immune support. 70-80% of your immune system resides in the gut. The probiotics in kimchi modulate immune function, reducing both under-activity (susceptibility to infection) and over-activity (autoimmune and inflammatory conditions).
Vitamin production. Fermentation creates B vitamins (including B12, rare in plant foods) and vitamin K2 (important for calcium metabolism and bone health).
Cancer prevention. Multiple studies have found associations between regular kimchi consumption and reduced risk of colorectal and gastric cancers, likely due to the anti-inflammatory and antioxidant compounds produced during fermentation.
Weight management. Lactobacillus species in kimchi have been shown to reduce body weight and fat accumulation in clinical trials. The mechanism involves improved insulin sensitivity and altered fat metabolism.
How to Use Your Kimchi
As a side dish. The classic way — a small bowl alongside rice and protein.
In kimchi jjigae. Add aged kimchi to the stew for deeper flavor. Older kimchi (1+ month) is actually preferred for cooking.
In fried rice. Chop kimchi and stir-fry with cold rice, egg, and sesame oil. The simplest kimchi fried rice takes 10 minutes.
On eggs. Scrambled eggs with chopped kimchi is a 5-minute breakfast with probiotics built in.
In salads. Chopped kimchi adds tangy, spicy crunch to any salad.
In smoothie bowls. A tablespoon of kimchi brine (not the kimchi itself) adds probiotics to smoothies without changing the flavor significantly.
Making your own kimchi connects you to a fermentation tradition thousands of years old. The process itself is meditative — massaging paste into vegetables, packing jars, waiting for the biology to work. And the result is a food that genuinely improves your health with every serving.
If you enjoyed this fermentation project, try our guides on making sauerkraut and fermented beetroot kvass next.